Friday, September 28, 2012

Making Room for Baby


Above lies the contents of my stretchy uterus at 18 weeks! We found out our little one is a girl! Ever since this revelation I've been thinking about how to fix her up a little bedroom. Here is the room as it stands now, with all my little tools in it.


Recall that this house was built in the 1970s and seemed to contain every building trend of that decade. The walls are hollow paneling and the doors (were) dark, flat wood with golden knobs. The previous owners had done some work attempting to update the house, and I've continued that legacy. They sprayed texture over most of the paneling so that it looks like drywall at first glance. The room is painted blue and the trim is/was painted a weird brown color. I intend to finish painting the doors white (in the hallway too) and repaint the trim and light switch/plug panels to match. The paint can also use a little freshening up. Every time I walk into this room I get a little overwhelmed and don't know where to start. As you can see, I already painted some of the trim, but there is still a good bit to be done. It still looks really crappy right now, but I'm trying not to get discouraged.

This is what I'm dealing with. Apparently when texture was sprayed on the walls, no effort was taken to spare the trim. This makes it difficult to paint it to look really straight and clean. You can see the old brown which extends beyond the trim onto the wall. It seems like I'm going to have to come along with a tiny brush and paint blue over this poopy line which was sloppily painted before. I have packing tape protecting the carpet from getting paint on it, so that messiness at the bottom is going to soon disappear. I'm afraid it's still going to look weird because of that texture, though. Needs another coat. So do the doors. What's so funny is that I HATE PAINTING SO MUCH, and yet I've done so much of it this year....I just look ahead to the final product. This brown trim is ALL OVER THE HOUSE, so there will still be lots of painting left for me to do!

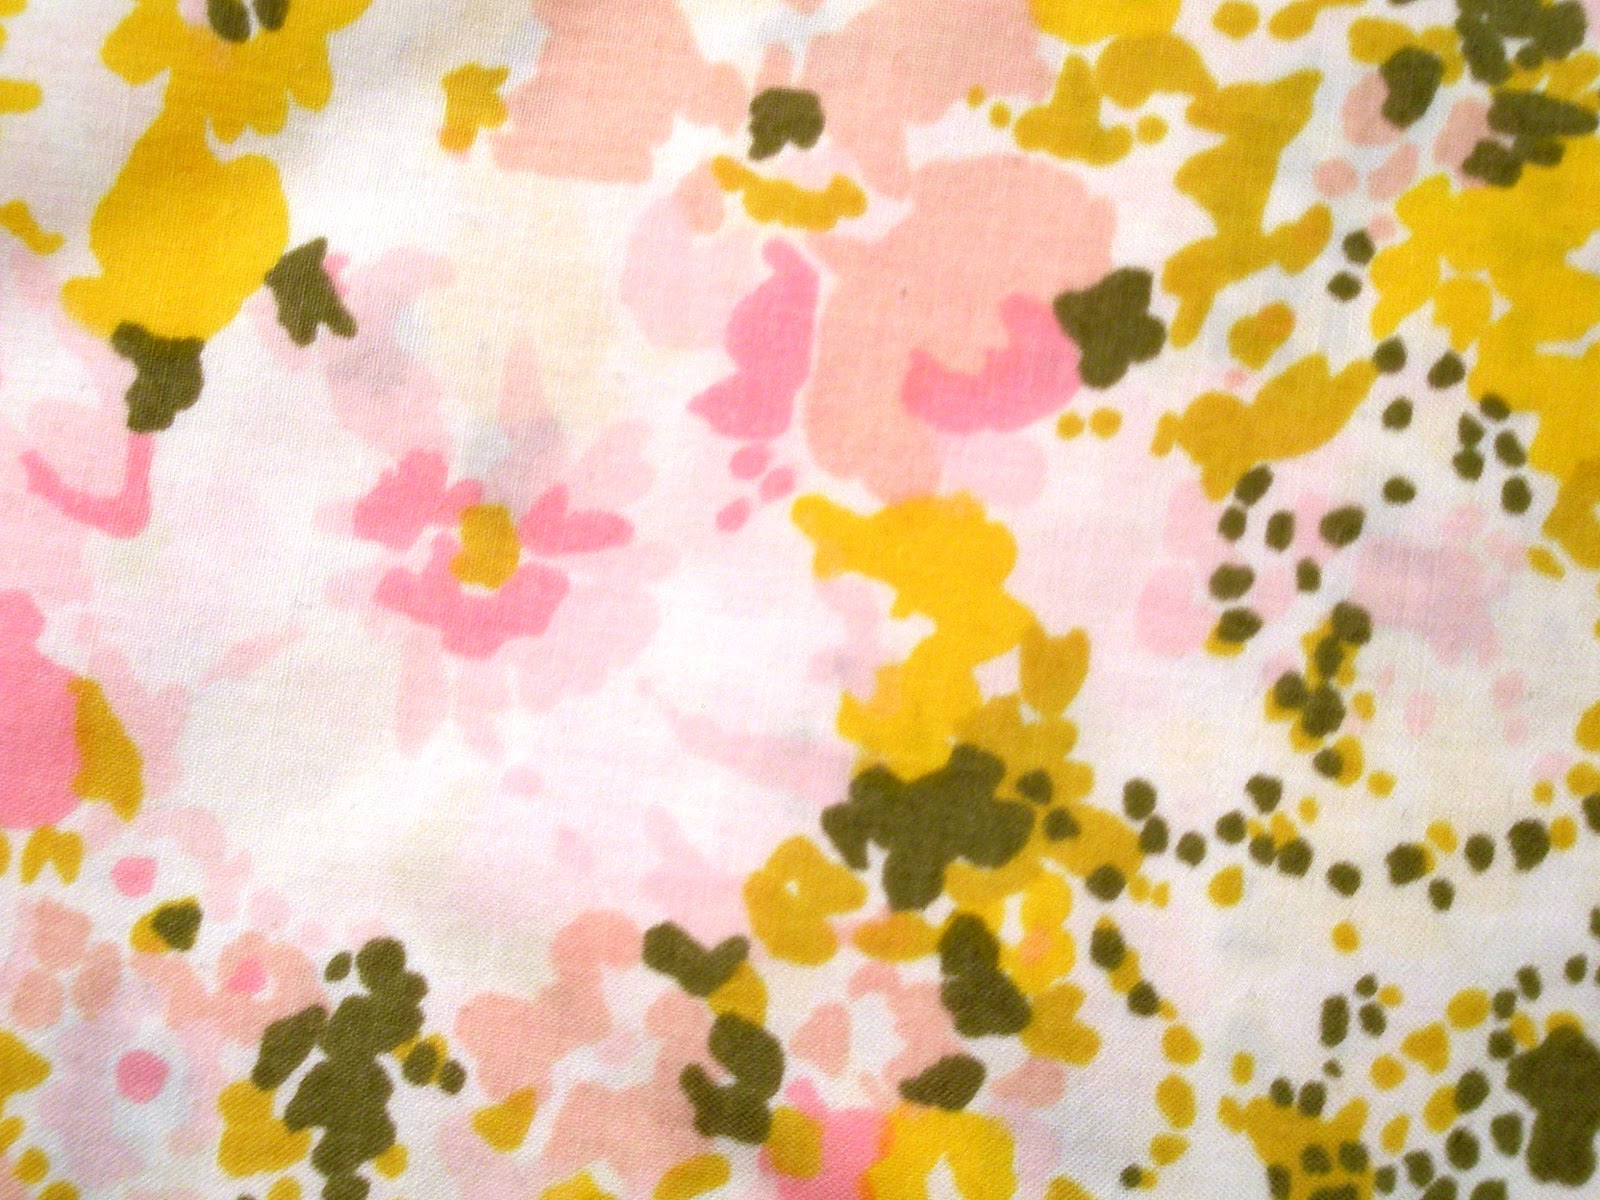
Sigh.....I just want to get this tedious stuff done so I can play with decorations, curtains, crib, making crib sheets and otherwise filling this room with adorable cuteness. My inspiration is this sheet I found at a thrift store.

I love, love, love the pattern on this fabric. I bought this a couple of months ago thinking that maybe if I have a girl I will get to use it for curtains in the blue room. The shade of blue in the flowers looks really nice with the blue that's on the wall and those yellows, pinks and greens really girlify the room. I especially love all these colors because I'm not a huge fan of pink and purple. I got some other sheets at the thrift store that I'm planning to use as well. I'm pretty sure one of these will become a crib skirt and the other will become a crib sheet.

My finger is really itching to press "add to cart" on my crib of choice. It's taking all willpower to keep from doing it! I can't wait until this room starts looking like a baby's room!


Thursday, September 13, 2012

New egg

Mystery egg on the left, Mrs. Kravitz's egg on the right.
The hubs found a brown egg yesterday out between the our two empty garden beds, sitting innocently on the ground. I think you can tell the color difference in the photo above, Mrs. Kravitz's eggs are darker and a little more rusty looking. I don't know who laid this light colored egg outside the nest box, but I intend to watch them today and find out!

Meanwhile, I've been trying to eat eggs more often. This is actually an awesome time for the chickies to start laying because my midwife said I need to eat lots of protein for breakfast! The past few days I've been rockin' the potato and egg breakfast taco. Now I realize that to anyone not in Texas, the thought of eating a taco for breakfast seems a little foreign. You're missing out. I even made my own tortillas following my husband's experimental recipe which he concocted in a vain attempt to approximate the heavenly deliciousness of his mom's tortillas which are made from unmeasured ingredients.

Flour Tortillas

1 c. flour
1 tsp. baking powder
1/2 tsp. salt
1 T. vegetable oil
1/3-1/2 c. hot water

1. Mix the dry ingredients, then add the oil and mix in until the flour is crumbly.

2. Add some of the water and stir, add more water if needed. The dough needs to be soft but not sticky.

3. Separate into about 4 pieces and form them into balls and then squash them down a little. I like to let this sit for a few minutes.

4. Roll out into tortillas. My mother in law rolls the rolling pin forward and backward over the dough quickly, then turn about 1/8 turn and do it again. Keep doing that in a circular fashion until the tortilla is the size you want, probably about 7-8 inches across.

5. Cook them on a hot cast iron skillet or griddle (about medium-high heat) about 30 seconds on each side. If you set the hot tortillas between the folds of a kitchen towel they will soften up a little more and be even better. Done!

For the potato and egg part of the taco, today I just took a smallish red potato, peeled it and chopped it into little chunks. I boiled them until soft, then drained and dumped them into a skillet on medium heat. While the potatoes were boiling I scrambled three eggs and set them aside. Once the potatoes are in the skillet, add the raw scrambled eggs on top of the potatoes. Add salt and pepper on top of that. Stir until eggs are cooked. The tricky thing is that you want about equal parts egg and potato. I thought my breakfast might be a little too egg heavy this morning, but it turned out really good.

Sometimes I cook the potatoes by sauteing them in a skillet with oil and onions until soft, and this is the way my husband prefers it. I like the potatoes either way. It gives a little different flavor depending on how you cook the potatoes, but I've already eaten potato and egg tacos cooked the other way this week so I switched it up this morning!

Friday, September 7, 2012

Straight from the chicken's butt!

The first egg!
I am pleased to announce that one of my hens has started laying! Several days ago I noticed that when I would reach my hand down to Mrs. Kravitz the hen she would crouch down and be still. This behavior confused me as all of my hens usually just run away. I started thinking that the chicken had just become inordinately scared of me because she has so much trouble with my cat targeting and chasing her, including one instance in which the cat scared her so much she shoved herself through the fence into the neighbor's dog yard where we had to rescue her. I looked up my question on Google and turned up info about the squatting behavior.

I said to myself, "oh shit!" I didn't even have a nest box in my coop yet, and I keep all the chickens separate from the coop during the day anyway. I didn't want them to start laying just anywhere. I read that free range chickens will usually go back to their coop to lay.

Right away I opened up the coop, found a five gallon bucket to serve as a nest box, shoved a little hay into it, stabilized the bucket with some rocks and bricks. All this time, Mrs. Kravitz was in the coop watching me and looking impatient. When I finally got things settled she went right in there and started rearranging hay before she just sat down and stayed for about an hour and a half. At the end of that time I went out to find that pretty brown speckled egg above! Seems like I got that settled just in the nick of time!

Since that first egg I've been leaving the chickens to roam the yard during the day so that they have access to the coop. Every day since Tuesday there's been another egg. I ate the first one, but there are currently three waiting in the refrigerator. Here's the beauty I found today.

In the nest!

In the hand!
 Mrs. Kravitz is a red sex link, so I think she has some Rhode Island Red in her. I hear that this breed matures quickly, so maybe that's why she's the first to lay. So far each egg has been really consistent: all brown with tiny white speckles and weighing 53 grams.
Mrs. Kravitz
Four gals.
Ginger the buff orp.
I can't wait until the Ameraucanas start laying. I'm ready to see some blue or green. This weekend the hubs and I are planning to fortify the back fence and a few spots on the side fence so that the ladies can be more securely contained in our yard.

Wednesday, August 29, 2012

Goodbye, sea of brown.

Since we moved into this 1970s house, I have been battling the neverending brown and darkness. You may recall my first attempts adding color with curtains, here. I also completed a little painting project which I never got around to blogging about--painting the long-dark-road-stripe-yellow-hallway-white.

Here is the before pic. I should've turned on the light in that hallway so the yellow could be better seen, but essentially the previous owners painted that hallway to try and match the wood in the kitchen and living room. Unfortunately, they did a pretty good job of that and the hallway just continues the monochromatic feel of the entire living room and kitchen, given that the walls, floors, blinds, and kitchen cabinets are nearly the same color! To break up that feel, I just gave the hallway a new coat of off-white, kind of tan paint. I'm still not quite sure I like the color completely, but I do like it a whole lot more than the yellow.


I adore the differentiation between the wood and the painted wall afterward, and I never, ever thought that I would find a white wall a relief, as usually I can't wait to apply some color to white walls! One of the next de-browning and de-1970ing projects I'm wanting to complete is to make the hallway doors appear to be panelled and painted white. Once those doors are white I may decide that the hallway needs a nice blue or green! I want to get these things done before I get too pregnant to climb up ladders, bend and such.

Here are a couple more pictures of the living room to remind you exactly what I am wrestling with. Ignore the ghost orb and evil cat. You can see several future projects in this first pic: painting that closet door next to the ghost orb white, and possibly painting the front door a fun color. Green maybe? We'll see what I can convince the hubs to do, as he is leery about painted front doors.

My project for today will hopefully involve getting some white faux wood blinds for the front living room window, the side window, and the kitchen window. Let's have some more white to break up that brown! A plus to this project is that these "semi-private" (what's the use of that?!?!) brown bamboo blinds are going to be replaced by real PRIVATE blinds. Once the new blinds are up I will make a curtain to top the side window there.

You can see yet another future project in this second pic: replace that cheapo folding tray that we use as a side table.

As for my outdoor projects that I mentioned before....it's still too hot for them in my opinion!

Tuesday, July 10, 2012

Yard Planning

As you may recall, earlier this year we built a chicken coop in our yard.


You can probably tell that the coop is in the middle of the yard. Yes, smack dab in the middle. When we built it we thought that we would let the chickens free range in our yard, but we've since noticed that a good portion of the back yard would have to have new fencing to contain the littler cluckers, which would be expensive. So now we have a new plan which includes moving this heavy coop about 10 yards to sit up next to the shed in this area:


We could then use the wall of the shed as one side of a chicken run, and fence in the three other sides. I think it would be really nice to have chickens moved back there so the coop can be in an out-of-the-way location in an area that's shady all day. I'd like to border the enclosure with some kind of fruit trees, in my mind fig trees. There would still be room back there  to create another enclosure if I ever wanted to get a dairy goat or some crazy business like that in the future.

The chickens need to get situated because Egg Watch 2012 is on. These biddies are nearing about 20 weeks old, so who knows when those eggs will start coming. As it stands now, I herd the chickens into my garden area to spend the day (we don't have anything planted yet) and I really don't want to have to set up any kind of nest box in there because it's always been just a temporary solution.

I have also been holding on to these awesome T posts for my clothesline that my dad welded for me.


I've been trying to figure out where to place these babies in the yard. The right hand side of the yard is iffy because I don't want to accidentally dig into the septic tank, and getting too close to the fence may put drying clothes in danger of snagging on barbed wire. I'm thinking now that it may be a good idea to get the chicken run built, trees planted, and position the clothesline a little in front of this.

So to start this whole thing off, I suppose we need a few strong men's arms.

Friday, June 29, 2012

Socially Awkward...

Someone needs to create a guide online to help the socially awkward among us accomplish ordinary, seemingly innocuous tasks which are excruciatingly difficult for people with the above impairment. I just spent two whole days preparing for a single 8 minute phone call. Most of this time was spent going over and over in my head how to begin the conversation on the phone. I searched for advice online and found lists of questions to ask the -type of person I was calling, sorry for the vagueness-, but what I needed was more of like: What do I say when she answers the phone? Should I introduce myself? Do I need to say my last name? How much detail should I go into? How should I ease into asking my list of questions?

Other tasks that are exceedingly difficult for me:
Meeting acquaintances unexpectedly. What should I say?
Inviting people places.
Ordering pizzas.
Calling doctors/clinics/craigslist people....
Introducing myself in a group.
Thinking of questions at interviews.
Powerpoint presentations/outreach.
Talking to people at small restaurants/stores/booths.
Having lots of people look at me (the wedding was very, very difficult).

And so the quest continues. I have so many more calls to make, but at least I got enough courage to call one.

Friday, May 18, 2012

Project Updates!

1. Table Project


This project is still not complete! I had to stop working on it last weekend because we were having people over for Mother's Day and I needed the paint to dry and harden a bit before being sat on and scuffed up. So here is the state of the table:


I applied polycrylic to the legs of the chairs and base of the table to protect against foot abuse, but still have work to do on the seats and backs. Appealed to fashion and convinced the hubby that the seats need to be green as well, but haven't had time to go back and apply primer, paint and polycrylic. The backs need to be touched up due to scratches from people sitting on them. I'm getting excited because the project is actually turning out pretty well despite the loooooong time it's taking.

2. Baby Girl Quilt

I mentioned a quilt I was starting in this post some time back. I've since finished it and given it to the beautiful girl in question! Here it is finished:


You can't see too many details in this pic, but I can sure tell that my stitching was a bit crooked on top. I fixed it after the pic was taken.

3. Baby Boy Quilt


Here's a peek at what I've been working on this week. This project will be done in short order because the baby shower is on Sunday! I hope my cousin is as happy with this symphony of beachy blues and greens as I am! This is just the quilt top, still need to make the quilt sandwich and sew it down.


4. Garden Project


Our pitiful progress on the garden is laughable. But at least we finally borrowed a truck and got it mostly filled with dirt!


I think plants are in the garden's future this weekend, but this is still a tricky prospect because we don't have a truck. I drive a Mustang which can barely fit people in the back seat. We really need a truck. This problems slows down so many of our projects.